Making an ETABS or SAP2000 plugin using the CSI oAPI
Computers and Structures Inc. has included an API to programmatically control or extend ETABS for a while now, and I have finally gotten around to trying it out, albeit at a very basic level. This post summarizes the steps (or rather the boilerplate code and project structure) necessary to write a plugin in C# using visual studio. I used the 2017 Community Edition for this.
If you just want to skip ahead to the final code, it can be found in a github repo shown below. It’s intended to be used as a starting point for any plugin. Feel free to clone it for your own use, submit an issue if you have an issue, or submit a pull request if you want to make improvements.
Final Code: https://github.com/jchatkinson/ETABS-plugin-starter-kit
Otherwise, lets dig in.
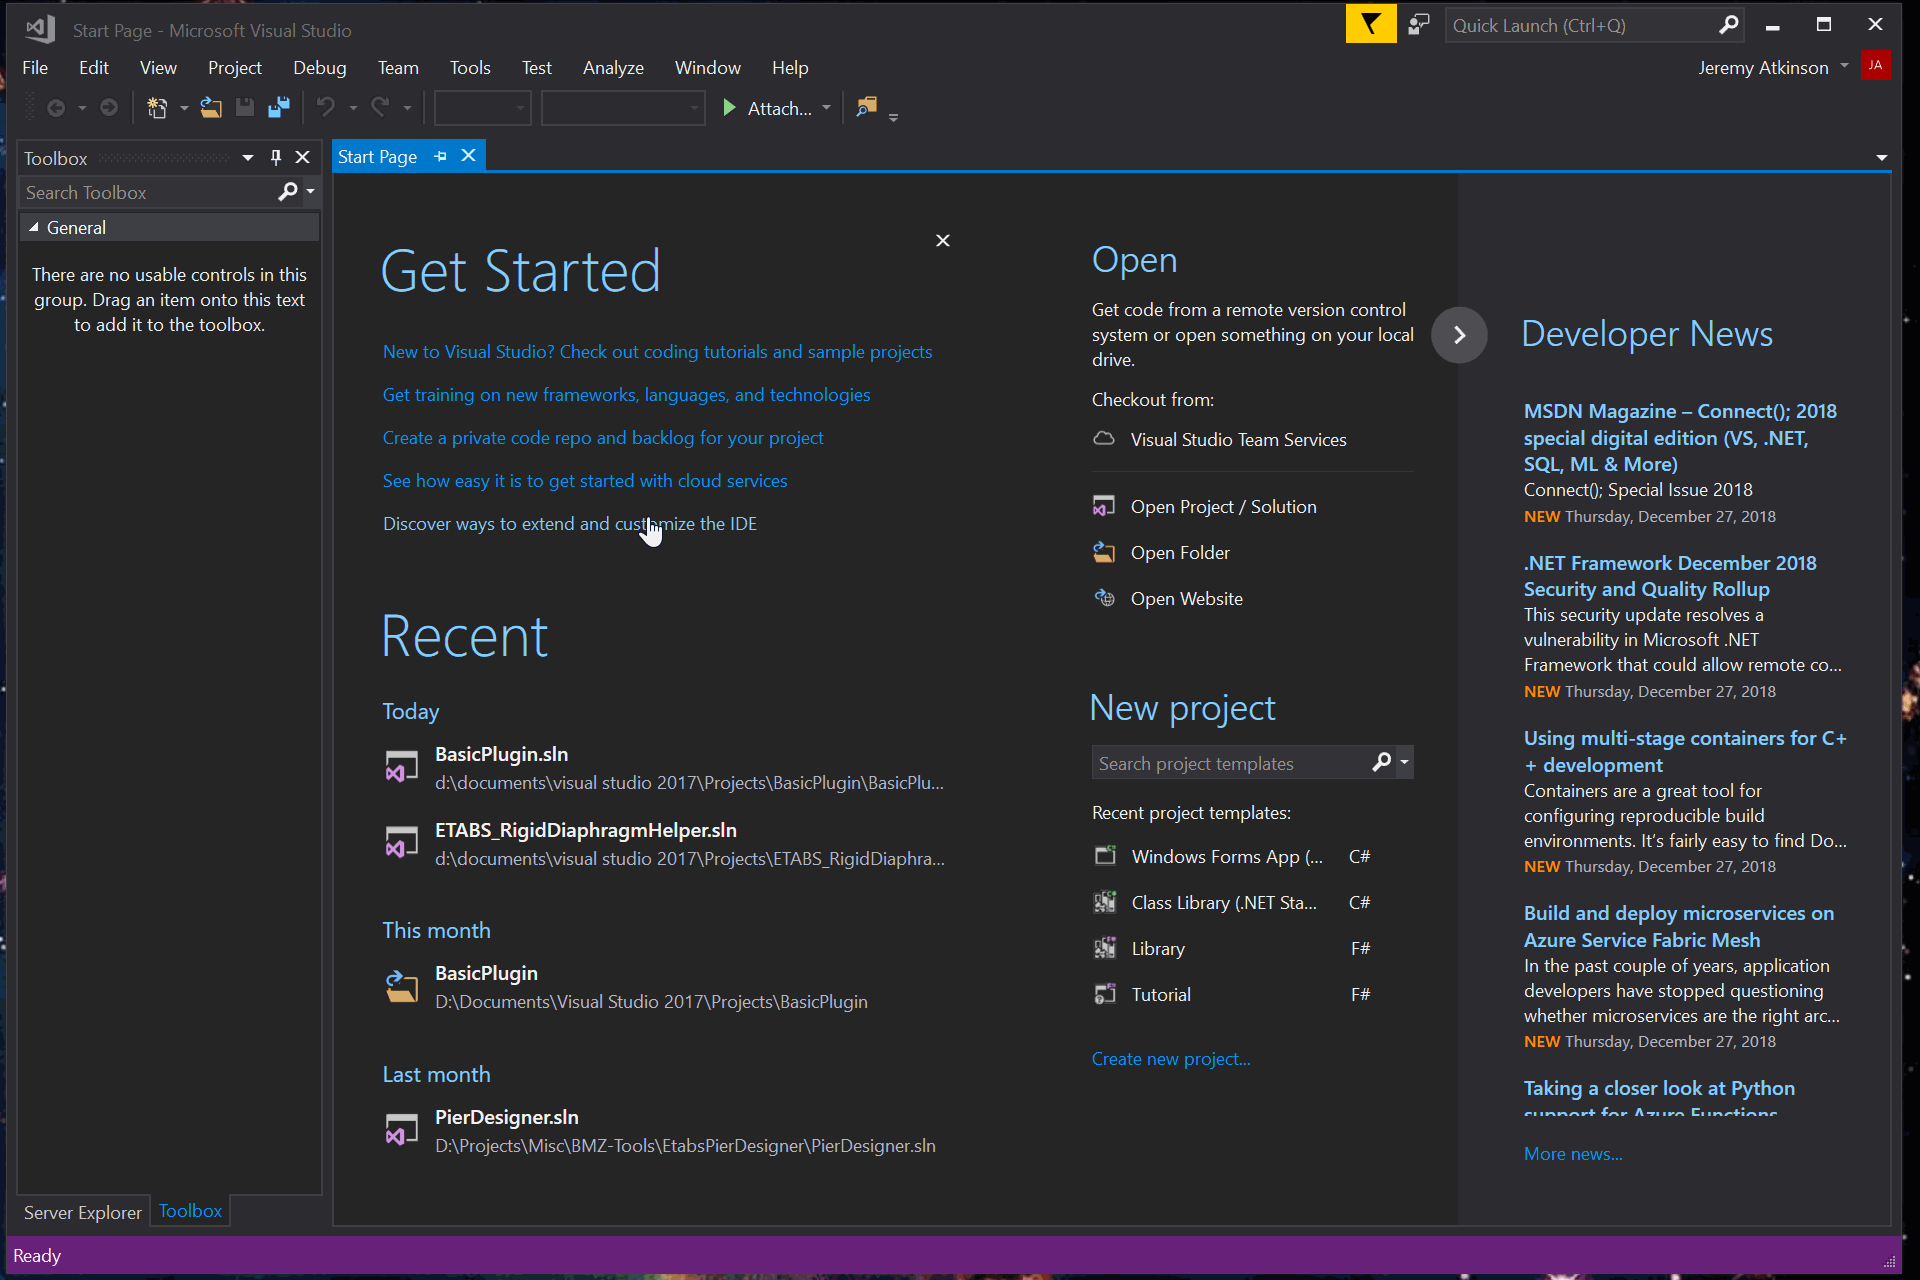
Start a new C# project
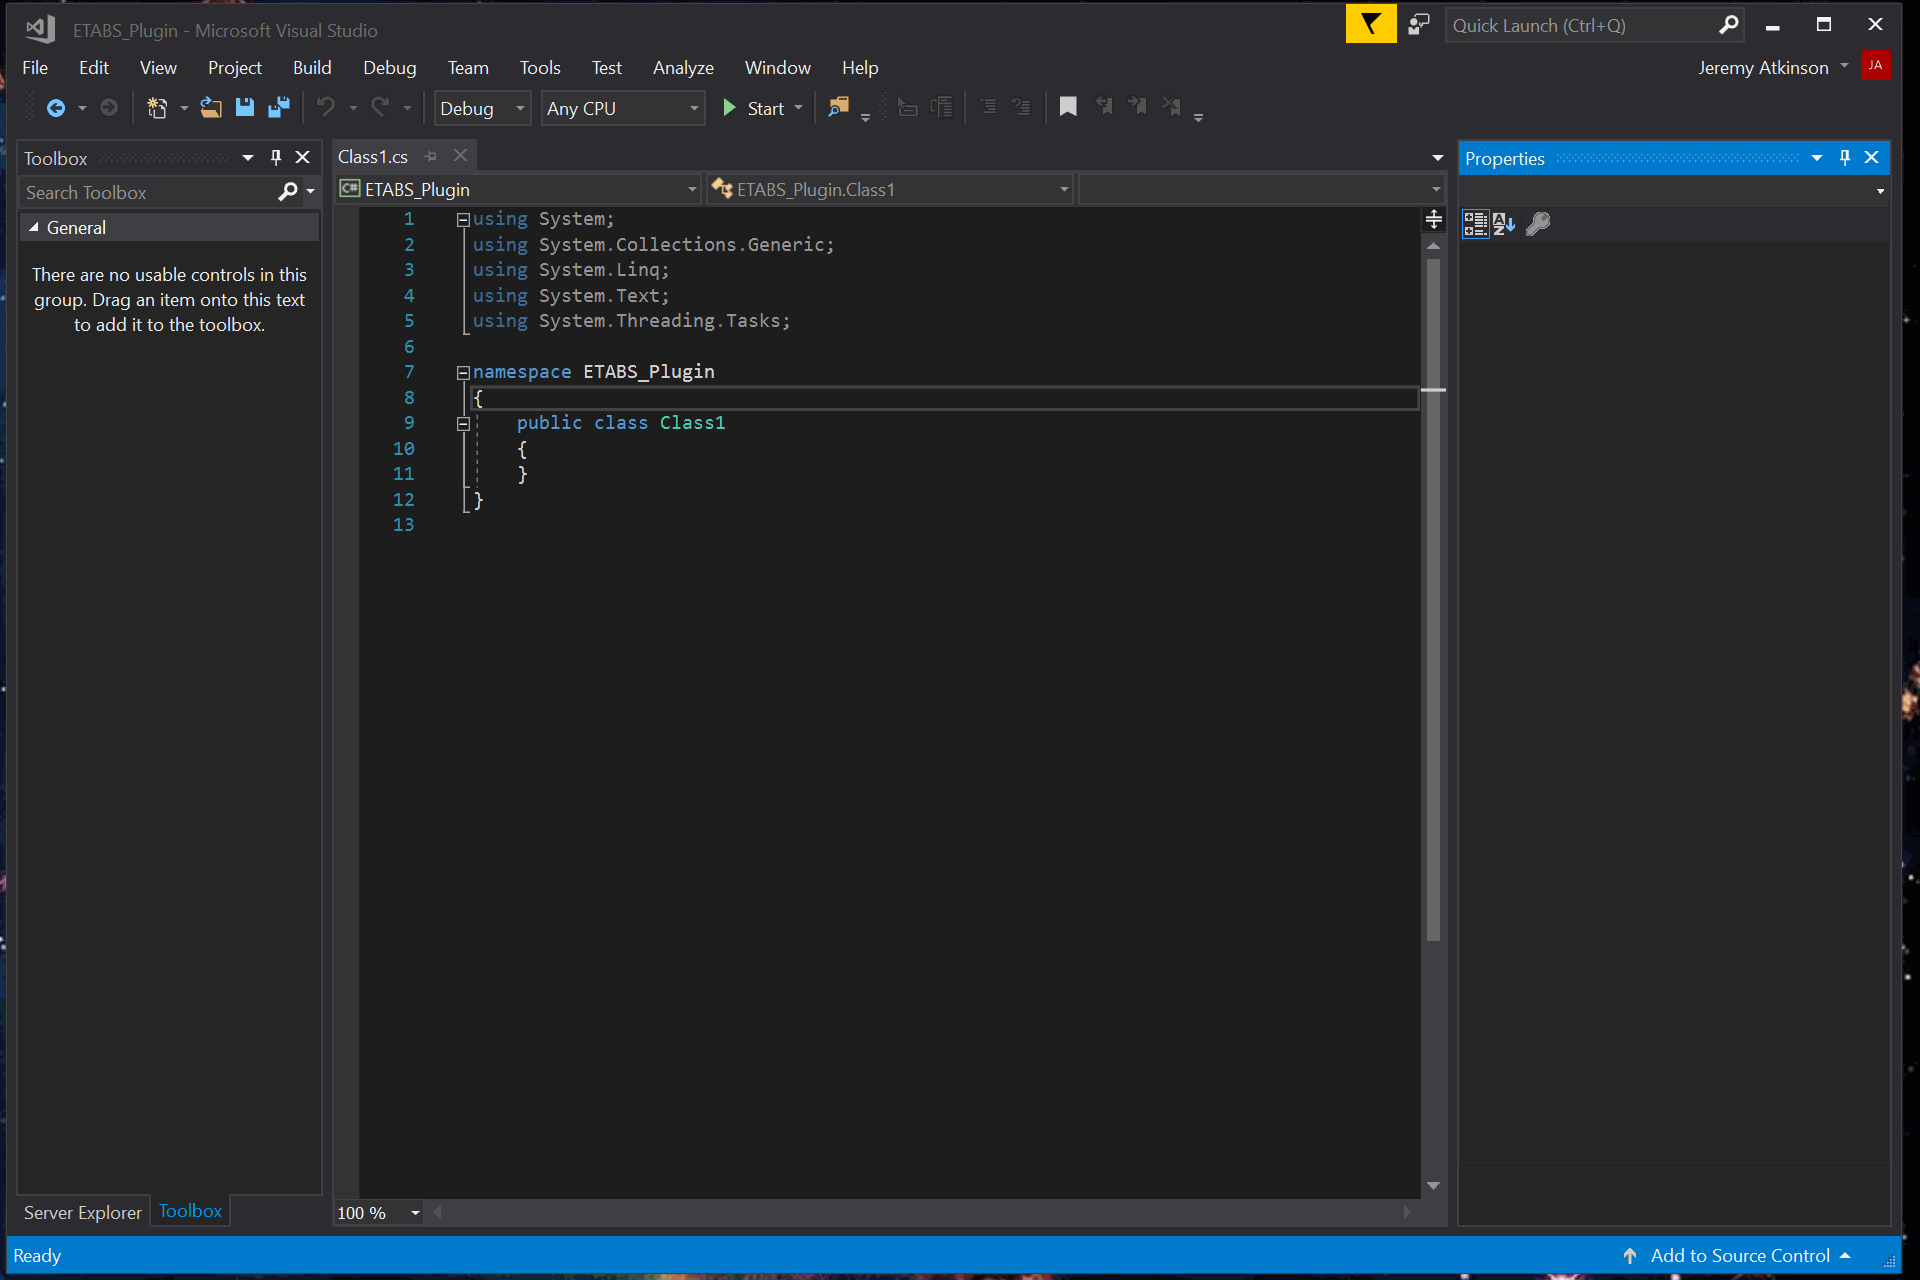
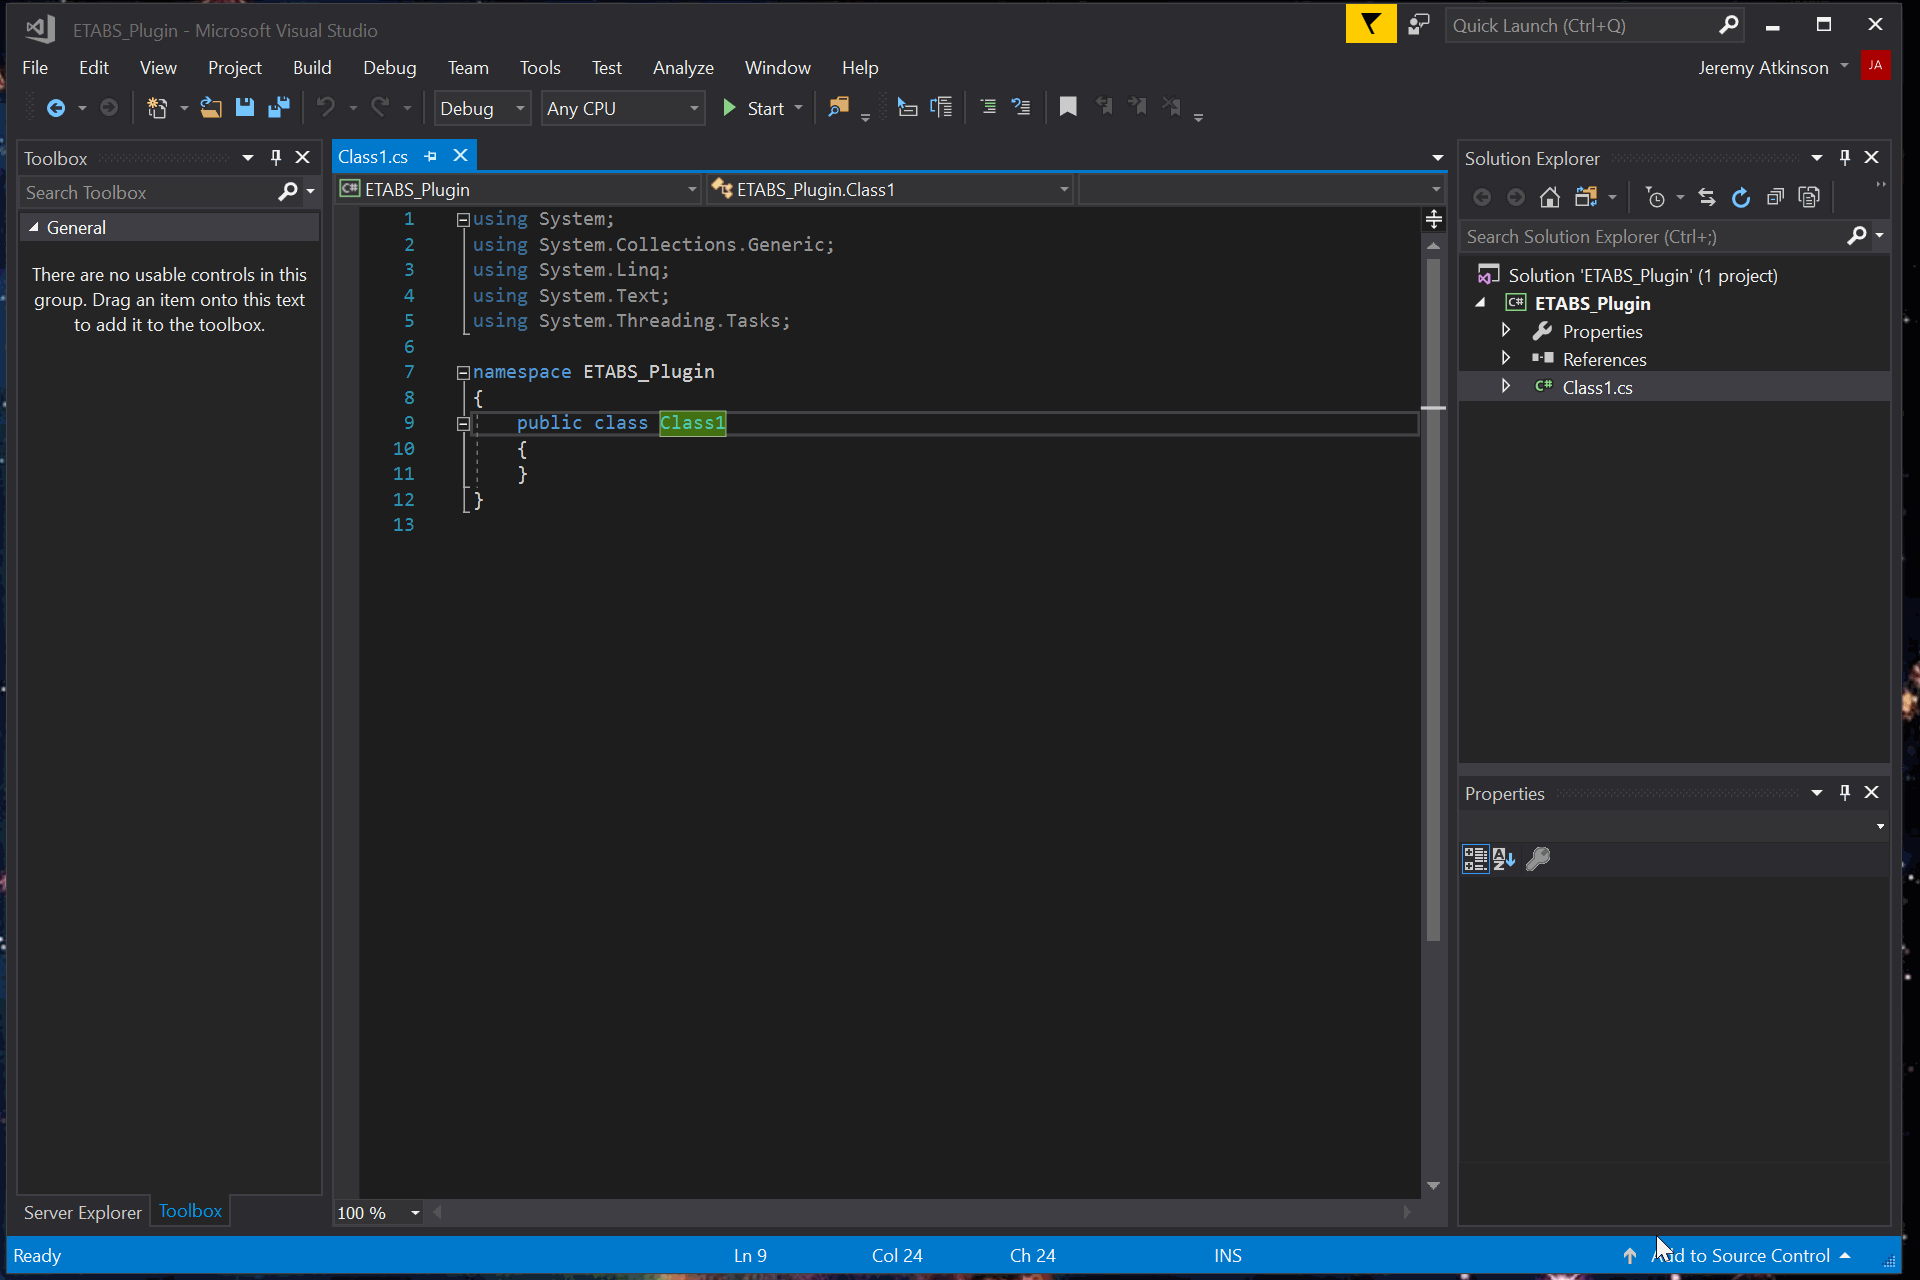
In visual studio, start a new project. We will need to select Class Library as the project type. Give it a memorable name and let VS set up.
We are presented with a single working file, Class1.cs.
Add ETABSv17.dll as a project reference
In order to access all the oAPI methods and classes, we need to add ETABSv17.dll as a project reference. It should be located in the install directory of ETABS, top level folder. For me, that’s C:\Program Files\Computers and Structures\ETABS 17.
Note that in the same folder, there is a help file (CSi API ETABS v17.chm) that provides some documentation for the API.
Add some boilerplate code
The API manual contains a bit of information about what a plugin must contain:
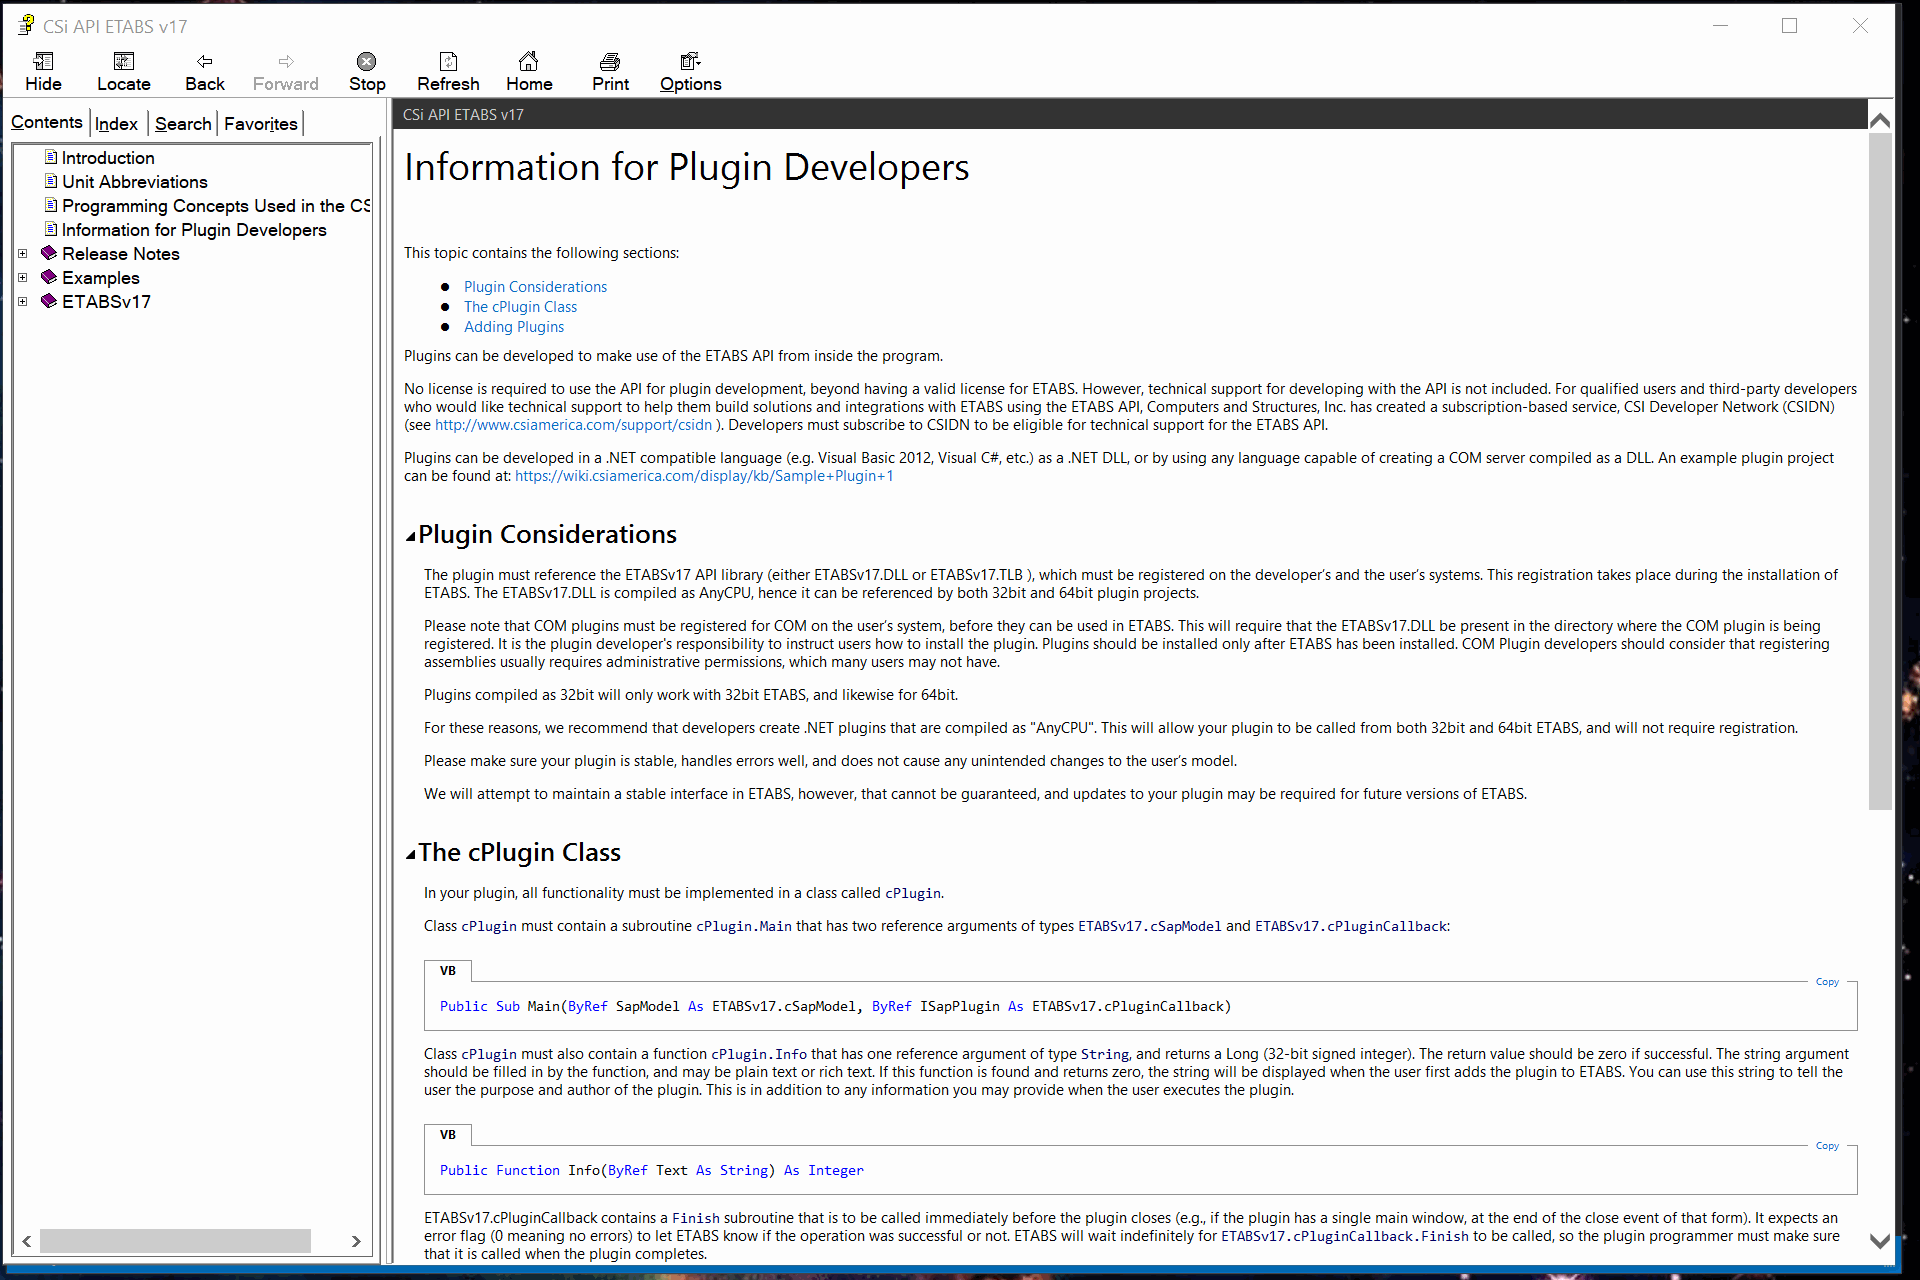
…In your plugin, all functionality must be implemented in a class called
cPlugin.
…Class
cPluginmust contain a subroutinecPlugin.Main()that has two reference arguments of typesETABSv17.cSapModelandETABSv17.cPluginCallback.
…Class
cPluginmust also contain a functioncPlugin.Info()that has one reference argument of typeString, and returns aLong(32-bit signed integer). The return value should be zero if successful.
…
ETABSv17.cPluginCallbackcontains aFinish()subroutine that is to be called immediately before the plugin closes.
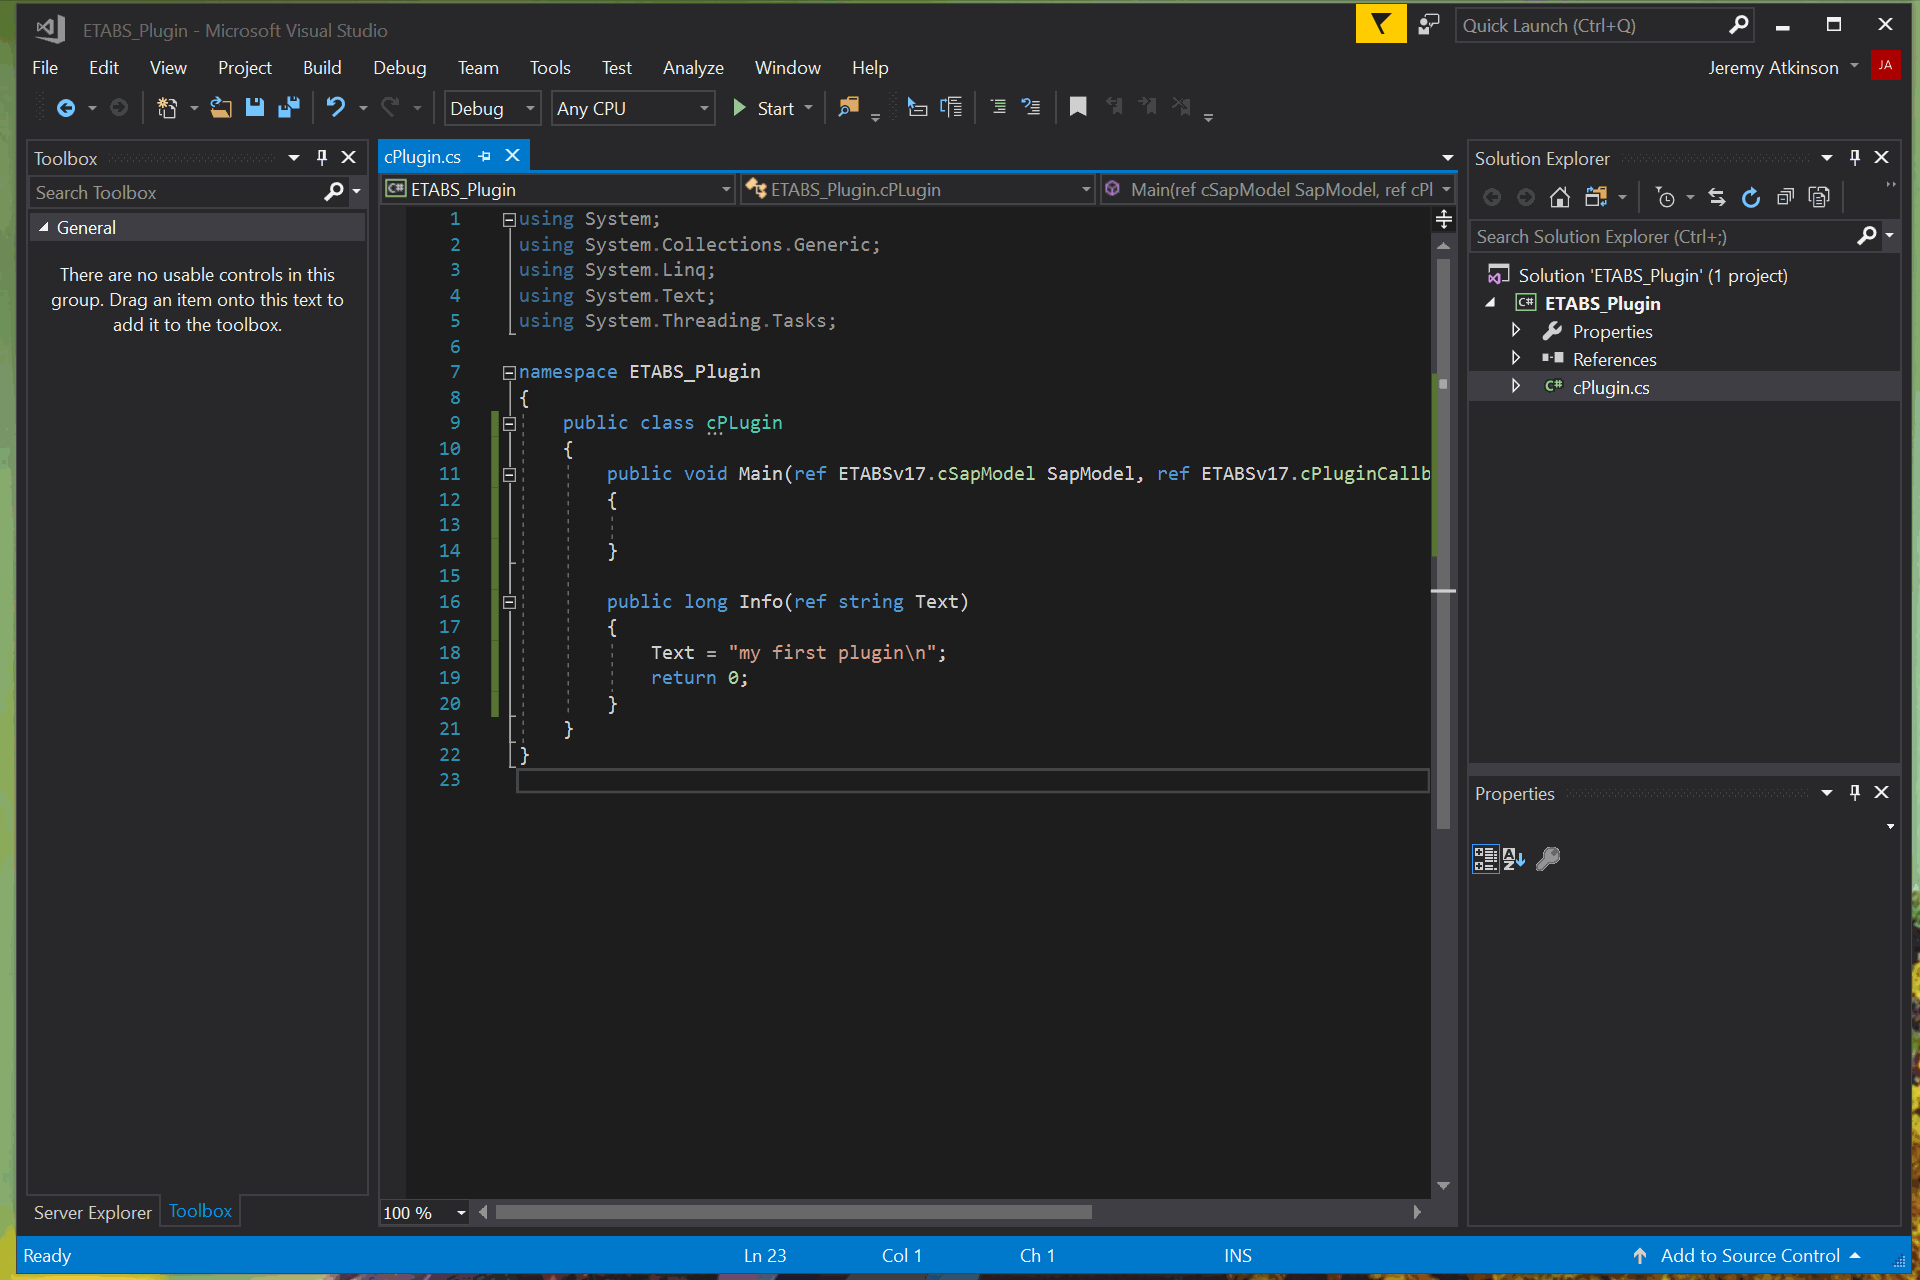
We need to rename our autogenerated Class1 to cPlugin, and then implement the two methods Main() and Info().
public class cPlugin
{
    public void Main(ref ETABSv17.cSapModel SapModel, ref ETABSv17.cPluginCallback ISapPlugin)
    {

    }

    public long Info(ref string Text)
    {

    }
}
Main() takes two parameters, cSapModel and cPluginCallback. We will use Main() simply as a flow-through method, and pass both parameters to our form instance, introduced in the next section. All the custom work will be done in there.
Info() takes a single parameter, Text. Info is called when the plugin is loaded and the info button is pressed by the user. This displays a text box that you can use to provide contact information, help, attribution, etc.
We simply need a text string with whatever we want to display, and return a zero:
public long Info(ref string Text)
{
    Text = "Etabs plugin template created by Jeremy Atkinson";
    return 0;
}
Make a new form and add UI elements as needed
A new form can be added to the project using the Project > Add Windows Form menu option.
By default, this form is called Form1 and contains a blank form and some skeleton code.
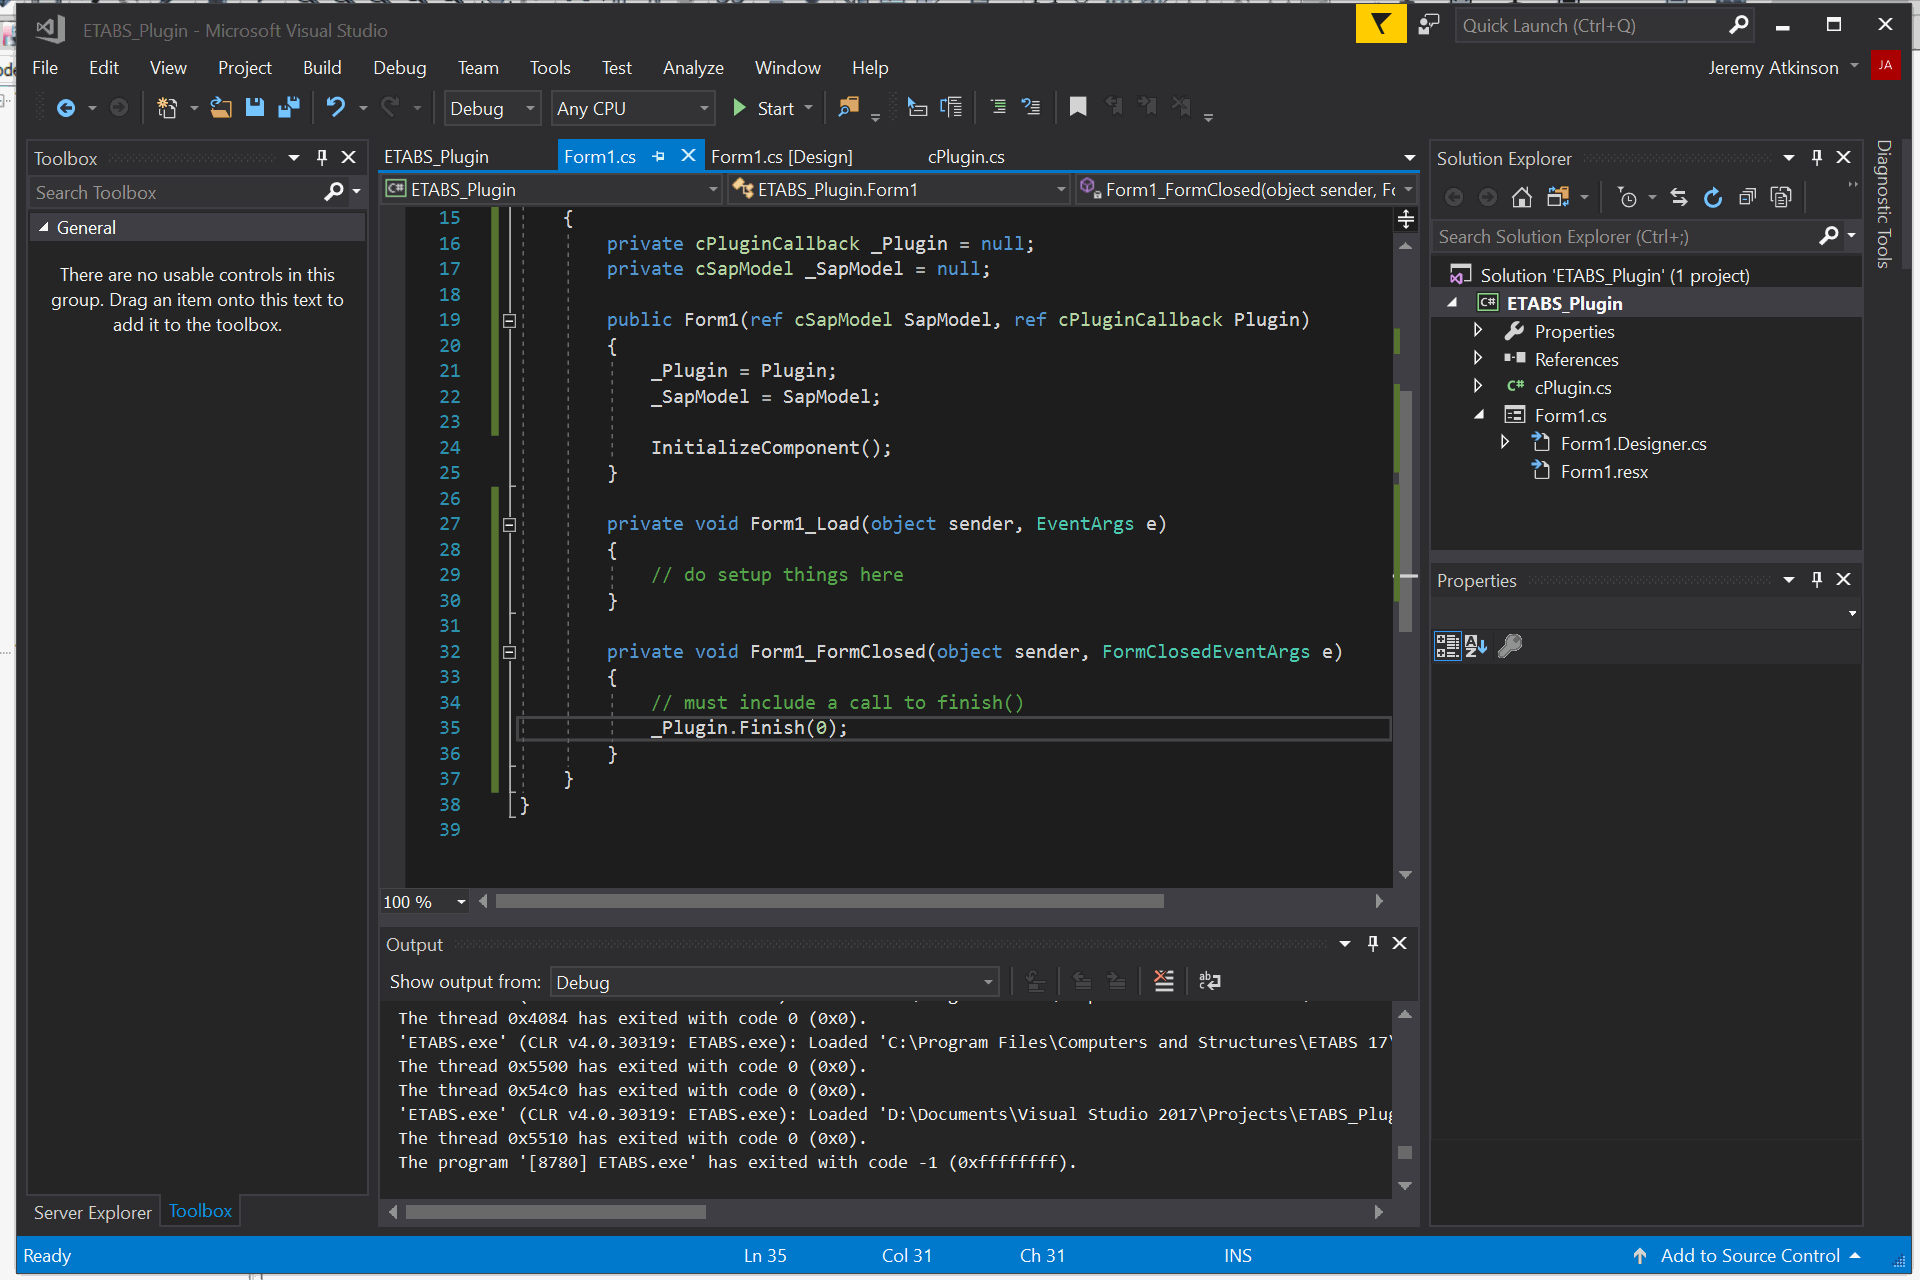
We need to add cSapModel and cPluginCallback as parameters to Form1.
using System;
using System.Collections.Generic;
using System.ComponentModel;
using System.Data;
using System.Drawing;
using System.Linq;
using System.Text;
using System.Threading.Tasks;
using System.Windows.Forms;
using ETABSv17;

namespace ETABS_Plugin
{
    public partial class Form1 : Form
    {
        private cPluginCallback _Plugin = null;
        private cSapModel _SapModel = null;

        public Form1(ref cSapModel SapModel, ref cPluginCallback Plugin)
        {
            _Plugin = Plugin;
            _SapModel = SapModel;

            InitializeComponent();
        }
    }
}
We can then use the form and ui element lifecycle hooks to implement our desired functionality.
public partial class Form1 : Form
    {
        ...

        private void Form1_Load(object sender, EventArgs e)
        {
            // do setup things here
        }

        private void Form1_FormClosed(object sender, FormClosedEventArgs e)
        {
            // must include a call to finish()
            _Plugin.Finish(0);
        }
    }
Build project as AnyCPU and load it into ETABS
By setting ETABS as an external program for debugging, you can get Visual Studio to automatically launch ETABS when you launch a debug configuration, and retain debugging capabilities for the plugin.
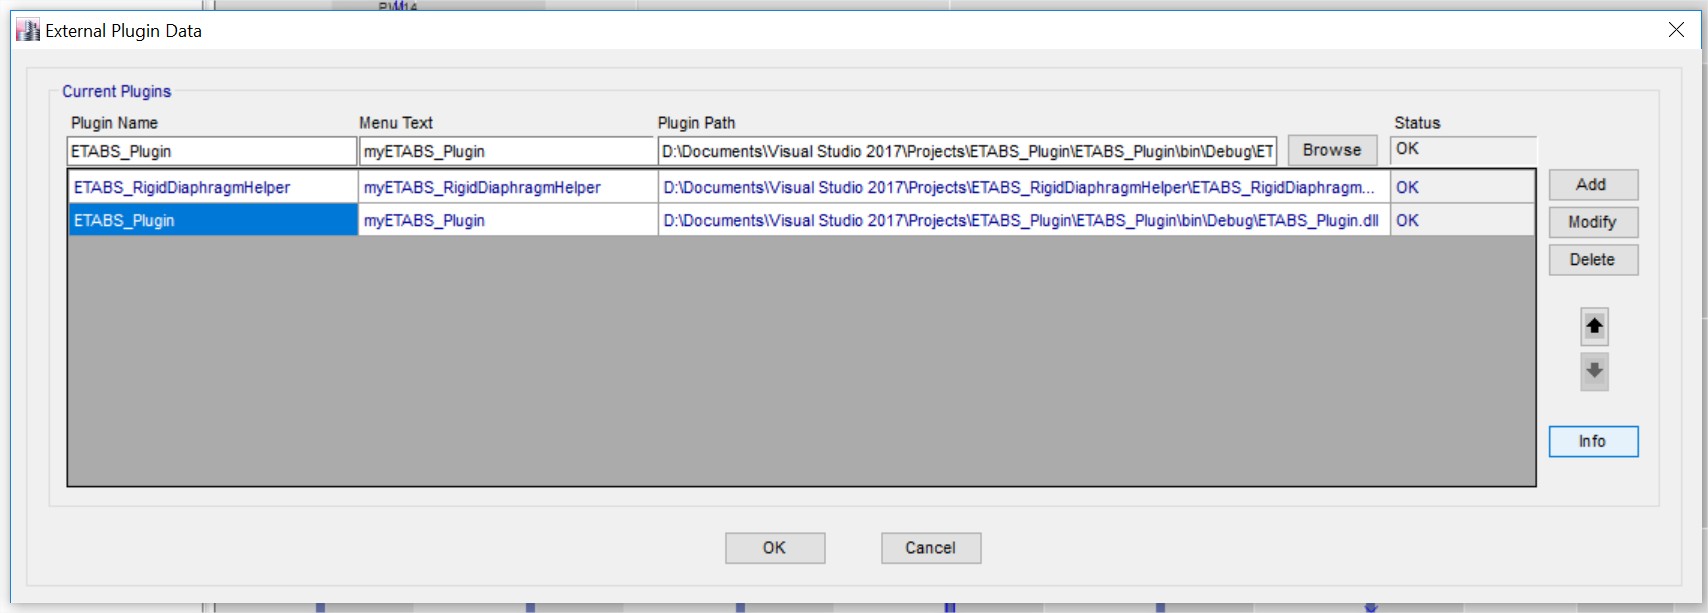
After doing that (or launching ETABS normally) you can open the Plugin menu at Tools > Add/Show Plugins.
Then browse and select our build output.
The form fields should automatically be populated and status set to ok.
Once added, there will be a disclaimer from CSi about third-party plugins.
Now, under Tools you should see your plugin and can click it to launch the form.
The final code for this starter plugin can be found in my repository: https://github.com/jchatkinson/ETABS-plugin-starter-kit
Jeremy Atkinson
Structural Engineer
My interests include tall buildings, seismic design, and computer programming.